Wondering if you need an illustration process?
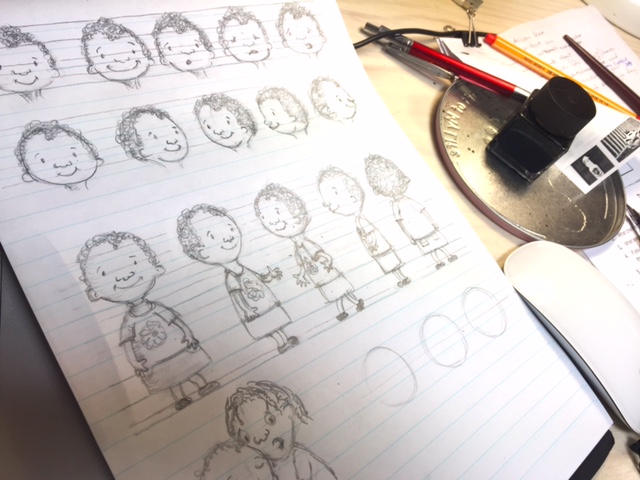
Barbara’s mobile phone rings and she recognises her best friend’s number on the screen.
She knows what the call will be about. That story that her friend has written but can’t draw well enough to illustrate herself.
Barbara knows she has the skills to do the illustrations. She’s even doodled a few ideas — more than a few, if the truth be told.
But as a process, it feels a bit hit-and-miss.
Amateur-ish (like her drawing).
Surely that’s not how to start?
Isn’t there more to illustrating a book than this?
Our inner-critic constantly reminds us we’re amateurs
And that we should leave the work to the professionals. But what we must remember is that every pro started somewhere. And if they had succumbed to their nagging fears, they would still be amateurs, too.
The tyranny of the empty page is real
But it only lasts until you make a mark on it. As soon as the page starts to fill with sketches its power is broken, just like throwing off an evil charm.
Having an illustration process helps you make that first mark
And even more important, to leave that mark there and move on to making more marks rather than obsessing over whether each mark is good enough.
Here’s my illustration process
It’s not the only way, and I’m sure someone else has a better one, but this one works for me. You’re welcome to see if it does for you as well.
1. discuss things with the book’s author. Find out the age of the book’s intended audience, as well as the age of the main character/s. Try to get an accurate idea of the picture in the author’s mind and draw very rough ideas to zero in on the best options.
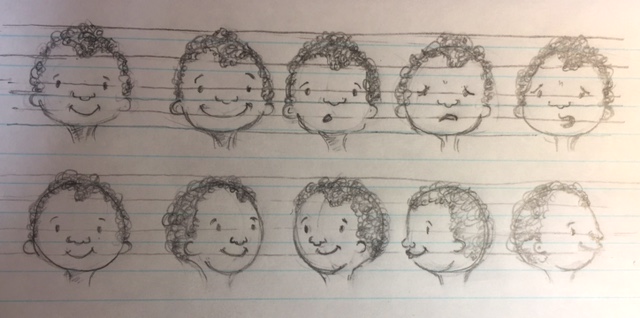
2. sketch out their favourite face option. Include sample expressions and various profiles as a face reference sheet.
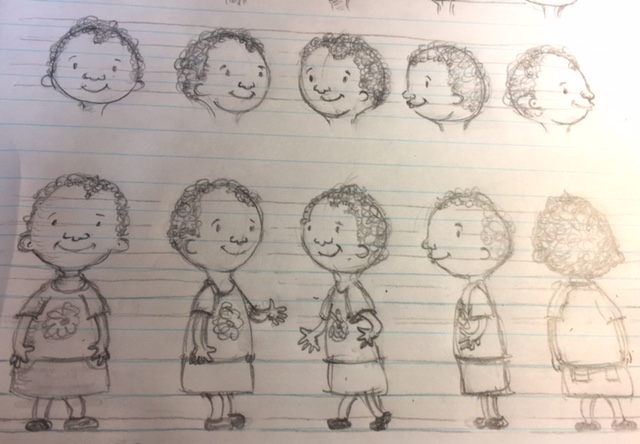
3. add body and clothes to the character, and again sketch it from different angles as a full character reference sheet.
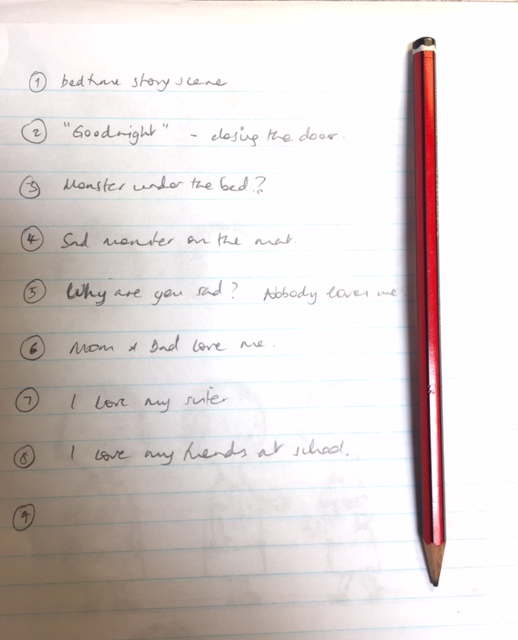
4. read the story and list the illustrations it conjures up in your mind. Record them with plenty of inspiring detail (e.g. dramatic angle, close up, specific props) to jog your visual memory later.
5. create very rough sketches for each scene. Use this as a time to problem solve, angles and ideas will continue to evolve as you sketch. Don’t think of them in terms of a finished product.
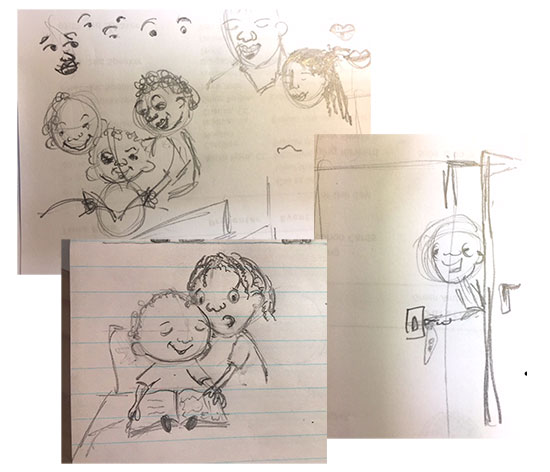
6. Take your evolved best ideas and create a final sketch for each scene. Use your character reference sheets to keep things consistent from every angle. Outline and add colour. Now let it sit for 24 hours or more.
7. Revisit your work and identify final tweaks.
Et voilà!
A simple process for illustrating your first book…
It’s not perfect.
But it’s perfectly do-able.
What’s stopping you from drawing Step 1 right now?
